Recently, I was afforded the privilege of getting my hands on the first prototype of the Astro Pi board, and had a lesson from Dave Honess at Raspberry Pi in how to write code for it.
I’m pleased to report that it really wasn’t very difficult, and I was able to make it do something useful in less than an hour.
I’ll admit to you now that I have done a little bit of coding in the past, but only what was absolutely necessary for my degree, and that was mostly in the last century. I’d forgotten all of that long ago, and I’ve never looked at code written in Python (the coding language that the Astro Pi board uses) before.
Once we’d set up the hardware (which was all very straightforward), I simply plugged in the Raspberry Pi, and it sprang into life. Rather than the swirling graphics of my laptop, it greeted with me a simple text interface. A few commands later, I had a familiar looking desktop environment and I opened a text file to starting writing my code.
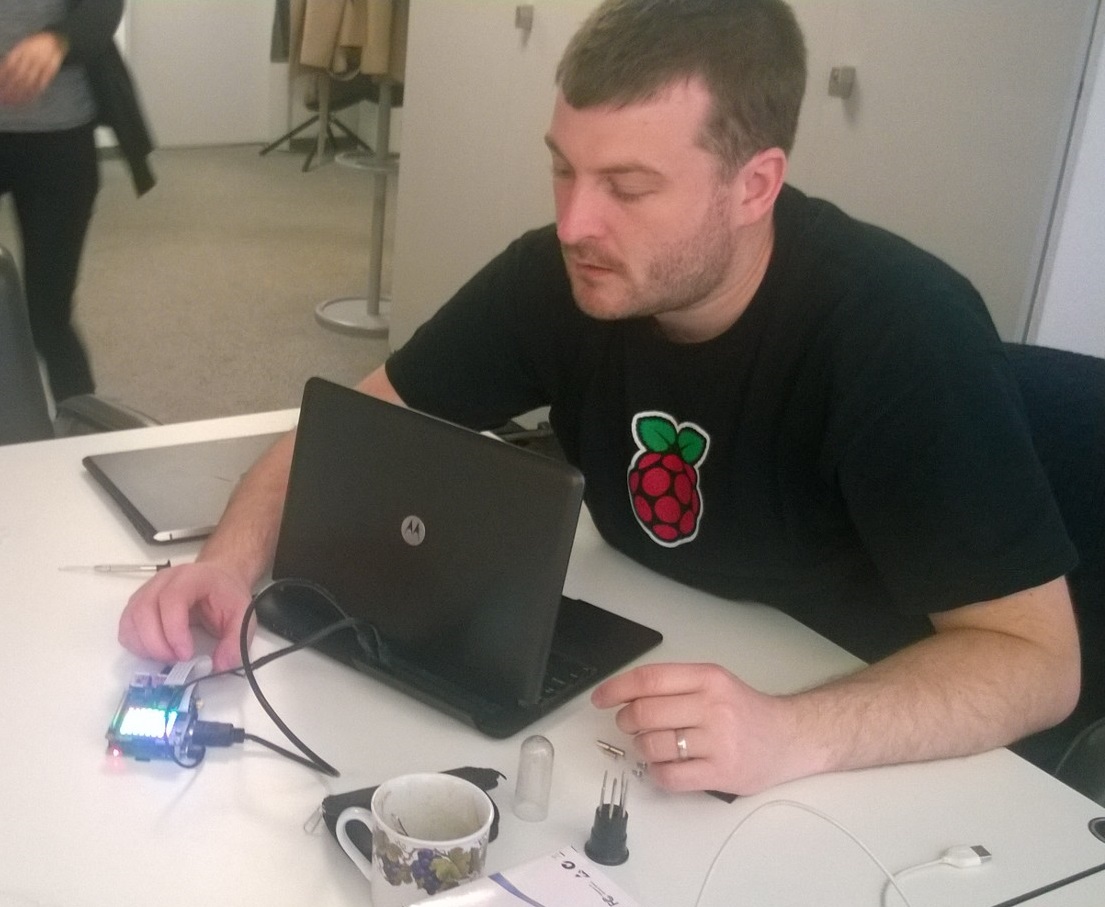
The sensors weren’t fully working on the prototype I was trying out, so I stuck to programming its LED display. Dave showed me a few simple programs he’d already written which had a blue dot running around the edge, or showed off a rainbow of all the colours, but I immediately knew what I wanted it to do.
Every mission to space starts with a countdown, so what I needed was a countdown clock.
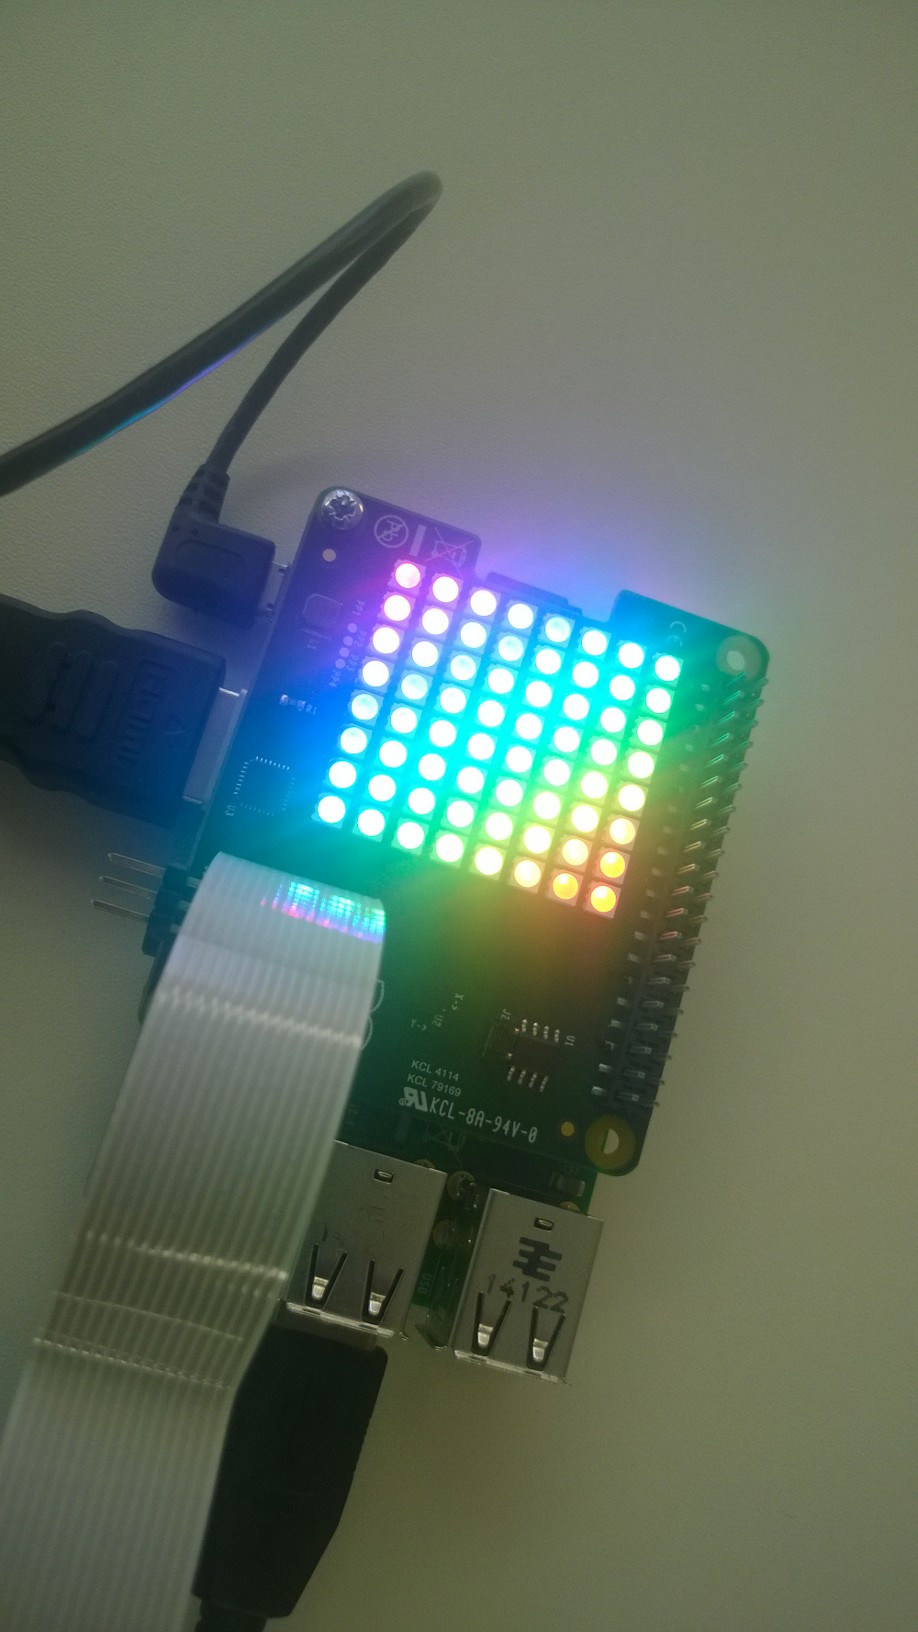
The LED (Light Emitting Diode) display on the Astro Pi board is made up of 64 lights, which can emit Red, Green or Blue light, or any combination of these colours. First of all I had to learn how to tell the LEDS to turn on and off, using a function and an array. Once I’d done that, I could code a series of arrays, one for each number. It took some trial and error to work out which number in my code corresponded to which LED, so the first attempt at the number 10 was back to front, but after some troubleshooting, I got it working.
Once I’d got all the numbers, I had to string them together in a sequence, which needed me to use some code that added in pauses, so that the countdown clock would not rush through from 10 to 1 in the time it takes you to blink.
Finally, as the display can show off any colours, I wanted to make the clock more colourful, so I learnt how to tell the LEDS what colour they should be, so that the numbers started out as being green, then went orange and finally red.
All of this took me no more than an hour, and I was very pleased with the resulting countdown clock. We used it when we announced the competition in December, and I’m hopeful that I’ll find a way to use it when Tim’s rocket launches from Baikonur in November.
If you’d like to get started with a Raspberry Pi, and get ready for coding the Astro Pi board when it becomes available soon, Raspberry Pi and ESERO have written all sorts of great education resources to help you learn about the Raspberry Pi, and to link the competition to the National Curriculum.
For more information on the Astro Pi competition, follow us on Twitter or sign up to our email alerts.
Leave a comment